
6 Tips On How To Arrange Flowers Like A Pro !
Arranging flowers can be intimidating and frustrating! The bouquet always look so pretty in the store, and then you get home and plop it in a vase only to be disappointed. Arranging flowers is definitely an art, but with a few tips and tricks up your sleeve, you can create floral arrangements as good as the pros! It takes a little bit of practice and creativity, but just about anyone can make store-bought bouquets or flowers picked right from your garden look stunning in a vase.
1. The #1 Secret
If you have ever tried arranging flowers in a wide mouth vase or bowl, then you know that the flowers tend to just fall to the side, making it difficult to arrange something that looks half-way decent. If you form a grid with cellophane tape (or any tape you have on hand), the tape will support your flowers and give you better control of your arrangement. Just be sure that the rim of your bowl or vase is dry and your container is full of water before assembling your grid. The only downfall I’ve found with this method is that it is more difficult to change the water.

Tip
A grid of clear cellophane tape spanning the wide mouth of the bowl supports the top-heavy flowers better than a frog would. Cut the stems short, and insert one or two flowers in each opening in the grid. Tuck fern clippings in last.
2. Budable
For smaller vases or jars, try Budable! It’s a stretchy silicone cap that stretches up to 4x its size. The tiny holes are perfect for precise control of your flowers, even allowing flowers that have been cut too short to stand up at any length. My favorite thing about this design is how easy it is to change the water without having to rearrange the flowers again, although you do have to make sure the rim of your vase is 100% dry or it will slip out of place. I even clean the rim of my vases with rubbing alcohol before apply this cap for a better hold. Also, be careful with thorny flowers like roses because they will tear the silicone. The thorns must be removed first to prevent damage.

3. Easy Arranger
Out of all of the flower arranger helpers, this Easy Arranger is probably my favorite! It comes in a 3 pack of varying sizes, and they fit all of my vases. What I like most about it is that they are bendable, and because of their rustic look, it doesn’t bother me if the wire shows a bit over the edge of the vase. The only downfall is that it is more difficult to change the water without having to rearrange the flowers a bit, unlike the Budable. (you can find it easly in amazon.com)

4. Mason Jar Flower Lids
I stumbled across these mason jar flower lids while on my hunt for an easier way to arrange my flowers, and couldn’t resist sharing! I use my mason jars as vases more than anything else, and I honestly can’t believe I didn’t know about these before. They’re so simple to use, and I also love the added rustic touch to the jars.(you can find it easly in amazon.com)

5. Double The Vase, Double The Fun
This is one my all time favorite ways to add a little pizzazz to any vase! Not only is it gorgeous, but the small vase inside of the larger vase makes it easier to assemble your bouquet. You can fill the outer vase with anything that fits the season: lemons, limes, oranges, large leaves, acorns, rocks, or seasonal items. You get the idea! Larger flowers work best because they tend to cover the rim of the outer vase, but it’s a little trickier to change the water, so choose flowers that aren’t finicky about having fresh water, or just be aware that when you do change the water, your vase may need reassembling.
Tip

Find a vase that fits inside another vase with half an inch of room between them. Fill the space between the two vases up most of the way with water before slipping in sliced lemons (the arrangement pictured required nine lemons). Pop your accent flowers (pictured are a dozen sunflowers) in the center vase, and voilà!

6. Disguising Your Stems
Use large flat leaves such as aspidistra to line a glass vase and disguise your stems. This is helpful if you are using floral foam to assemble your arrangement, or simply want a beautiful and unique look. Don’t be afraid to use faux leaves as they are available year round.

Things You'll Need
- Glass vase
- Tape
- Lemon-lime soda
- Bleach
- Sharp floral shears
- Stapler
- Flowers
- Large leaves
- Water

Step 1
The magic of perfect floral arranging happens before flowers even go into the vase. Start by selecting the right amount of flowers. The trick is to look at the opening of your vase, and then purchase enough blooms to make up four times the surface area of that opening. Many people also are uncertain about how to mix and match colors. The simplest solution is to go monochromatic. Just select three to five flower types in the same color family.

Step 2
The ideal water environment for cut flowers has some acid to help move water up the stems, sugar to feed the flowers, and an antibacterial agent. Lemon-lime soda contains both the acid and sugar, while household bleach is a good bacteria killer. Fill a clean vase about three quarters of the way with one part lemon-lime soda and three parts water, and add one teaspoon of bleach per quart of water.

Step 3
You will notice that most florist-created arrangements do not show the flower stems. Opaque ceramic vases hide the stems, but glass vases do not. Therefore, lining a glass vase with leaves gives the arrangement a professional touch. Use large flat leaves like aspidistra, the common house plant seen in the example. The water in the vase amplifies the leaves like a magnifying glass for a beautiful effect.

Step 4
To help all the flowers stay in position, create a grid of tape on top of the vase. Pictured in the photo is green floral tape, but regular household tape will also work. The tape that is visible at the rim will be covered later with flowers.

Step 5
Now, let's prepare the flowers. Remove any foliage from the stems that will be in the water. Any leaves left on the stems will get soggy and form bacteria.

Step 6
Using sharp floral shears, cut the stems at a diagonal so there is more surface area for water to travel up the stems. Do not use household scissors, which will crush the stems. (Floral shears are available in most crafts stores.) It's best to cut the stems under running water or a basin of water to prevent air from going into the stems, as the air will block water absorption.

Step 7
The actual positioning of the flowers in the vase is what intimidates most beginners, but there is a simple trick that removes a lot of the guesswork. The secret to a professional-looking arrangement is to group the same type of flower together, rather than mixing them up. Assign certain sections on the tape grid for each flower type, and place the flowers within those sections.

Step 8
Work from one side of the vase to the other, filling in sections of the tape grid as you go. The flowers that are around the perimeter of the vase should be cut shorter to cover the rim, while the middle flowers should be taller. This creates a dome shape in which the stems are not visible.

Step 9
If you have more aspidistra leaves, fold them in half and staple them to create loops. Then place these curled leaves in the last section of the vase. These leaves grouped together resemble a bow.

Step 10
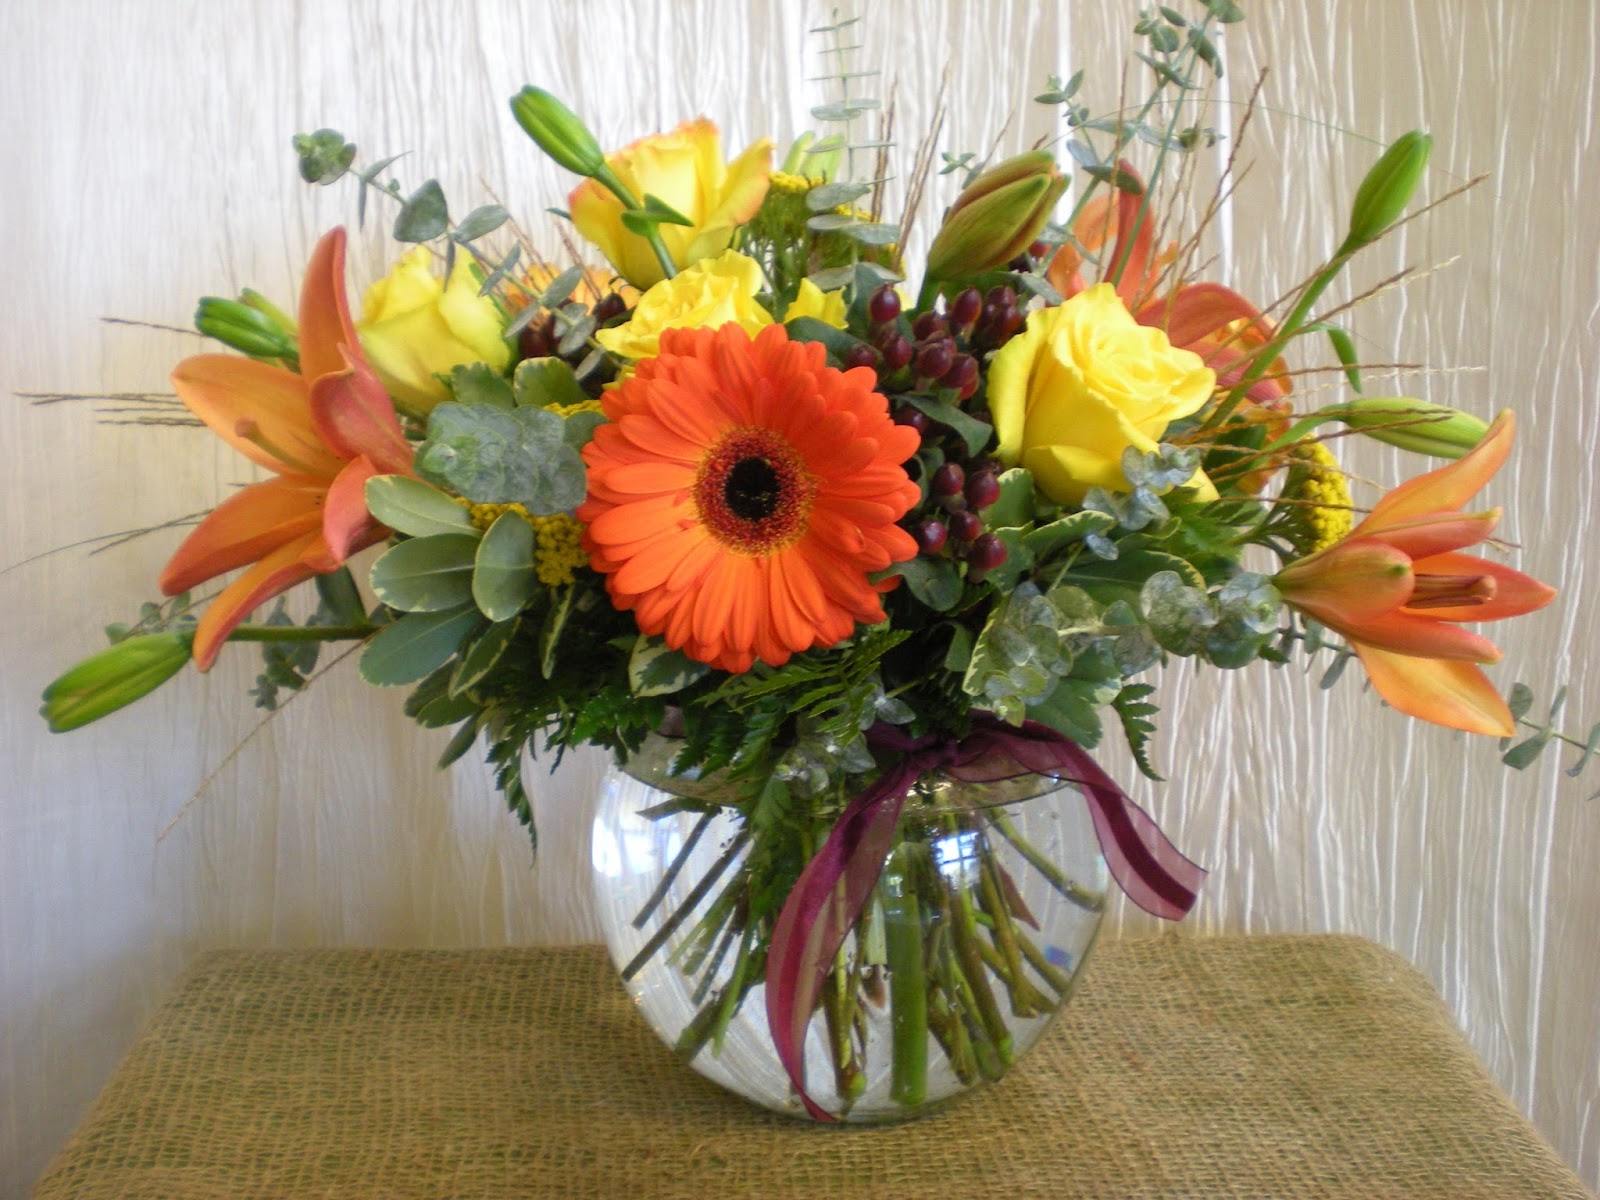
The final touch to a professional arrangement is a unifying element that ties it all together – while filling in any empty spaces. In this example, hypericum berries in the same color family punctuate the arrangement in various spots. Even though the flowers have been separated by type, the berries blur the boundaries for a gorgeous, cohesive arrangement. Now you've got a beautiful arrangement that looks like it came straight from the florist!

Aucun commentaire:
Enregistrer un commentaire